Skip to Main Content

Save up to 15% & enjoy free shipping for orders $90+ on our home office collection with code PRESIDENTSDAY.

Home office
Shopping for a team? Switch over to Branch Business!
Business
5 Tips for Proper Typing Posture

5 Tips for Proper Typing Posture

Discover five essential tips for proper typing posture to reduce strain, boost comfort, and improve your typing efficiency.


Typing has become a part of daily life for most people, whether for work, school, or personal projects. However, spending hours at a desk in poor posture can lead to physical strain, discomfort, and even long-term health issues like repetitive strain injury (RSI) and carpal tunnel syndrome.

That means proper typing posture is absolutely essential for maintaining long-term physical health and productivity. Good posture helps prevent pain, fatigue, and other musculoskeletal issues. It can also enhance concentration and productivity by keeping the body in a position where you’re not expending extra energy fighting discomfort.

In this post, we’ll cover five essential tips for maintaining the right posture while typing to help you feel better and work more efficiently. From the correct desk height to taking regular breaks, these tips can make a world of difference in your comfort and well-being.

1. Setting the Right Desk and Chair Height

Proper typing posture starts with a well-adjusted desk and chair. If either one is too high or low, it can throw off your body’s natural alignment, leading to strain in the neck, shoulders, and back.

Chair Height: Adjust your chair so that your feet are flat on the ground and your knees are at a 90-degree angle. This setup promotes stability and reduces pressure on your lower back. Make sure there’s a slight gap between the back of your knees and the edge of the chair to prevent restricted blood flow.

Desk Height: Your desk height should allow your forearms to be parallel to the ground when typing. Ideally, your elbows should be at about a 90 to 110-degree angle, with your arms relaxed by your sides. If you have an adjustable desk, use it to find the height that allows your forearms to float comfortably above the keyboard without lifting your shoulders.

Leg and Knee Positioning: Place your feet firmly on the ground or on a footrest if your chair height makes it challenging to reach the floor. This support helps maintain a relaxed lower body posture and stabilizes your entire setup.

Finding the right desk and chair height is crucial for proper posture, as it enables you to stay comfortable and focused for longer periods.

2. Positioning the Keyboard and Mouse

The placement of your keyboard and mouse can significantly impact your typing posture. Incorrect positioning can lead to wrist strain and repetitive injuries.

Here’s how to ensure your keyboard and mouse are positioned correctly:

Keyboard Position: Your keyboard should be directly in front of you, close enough that you don’t have to reach too far to type. Aim to keep it at a height where your elbows rest comfortably at your sides. The ideal distance is about two to three inches from the edge of your desk, allowing you to rest your wrists momentarily when not typing.

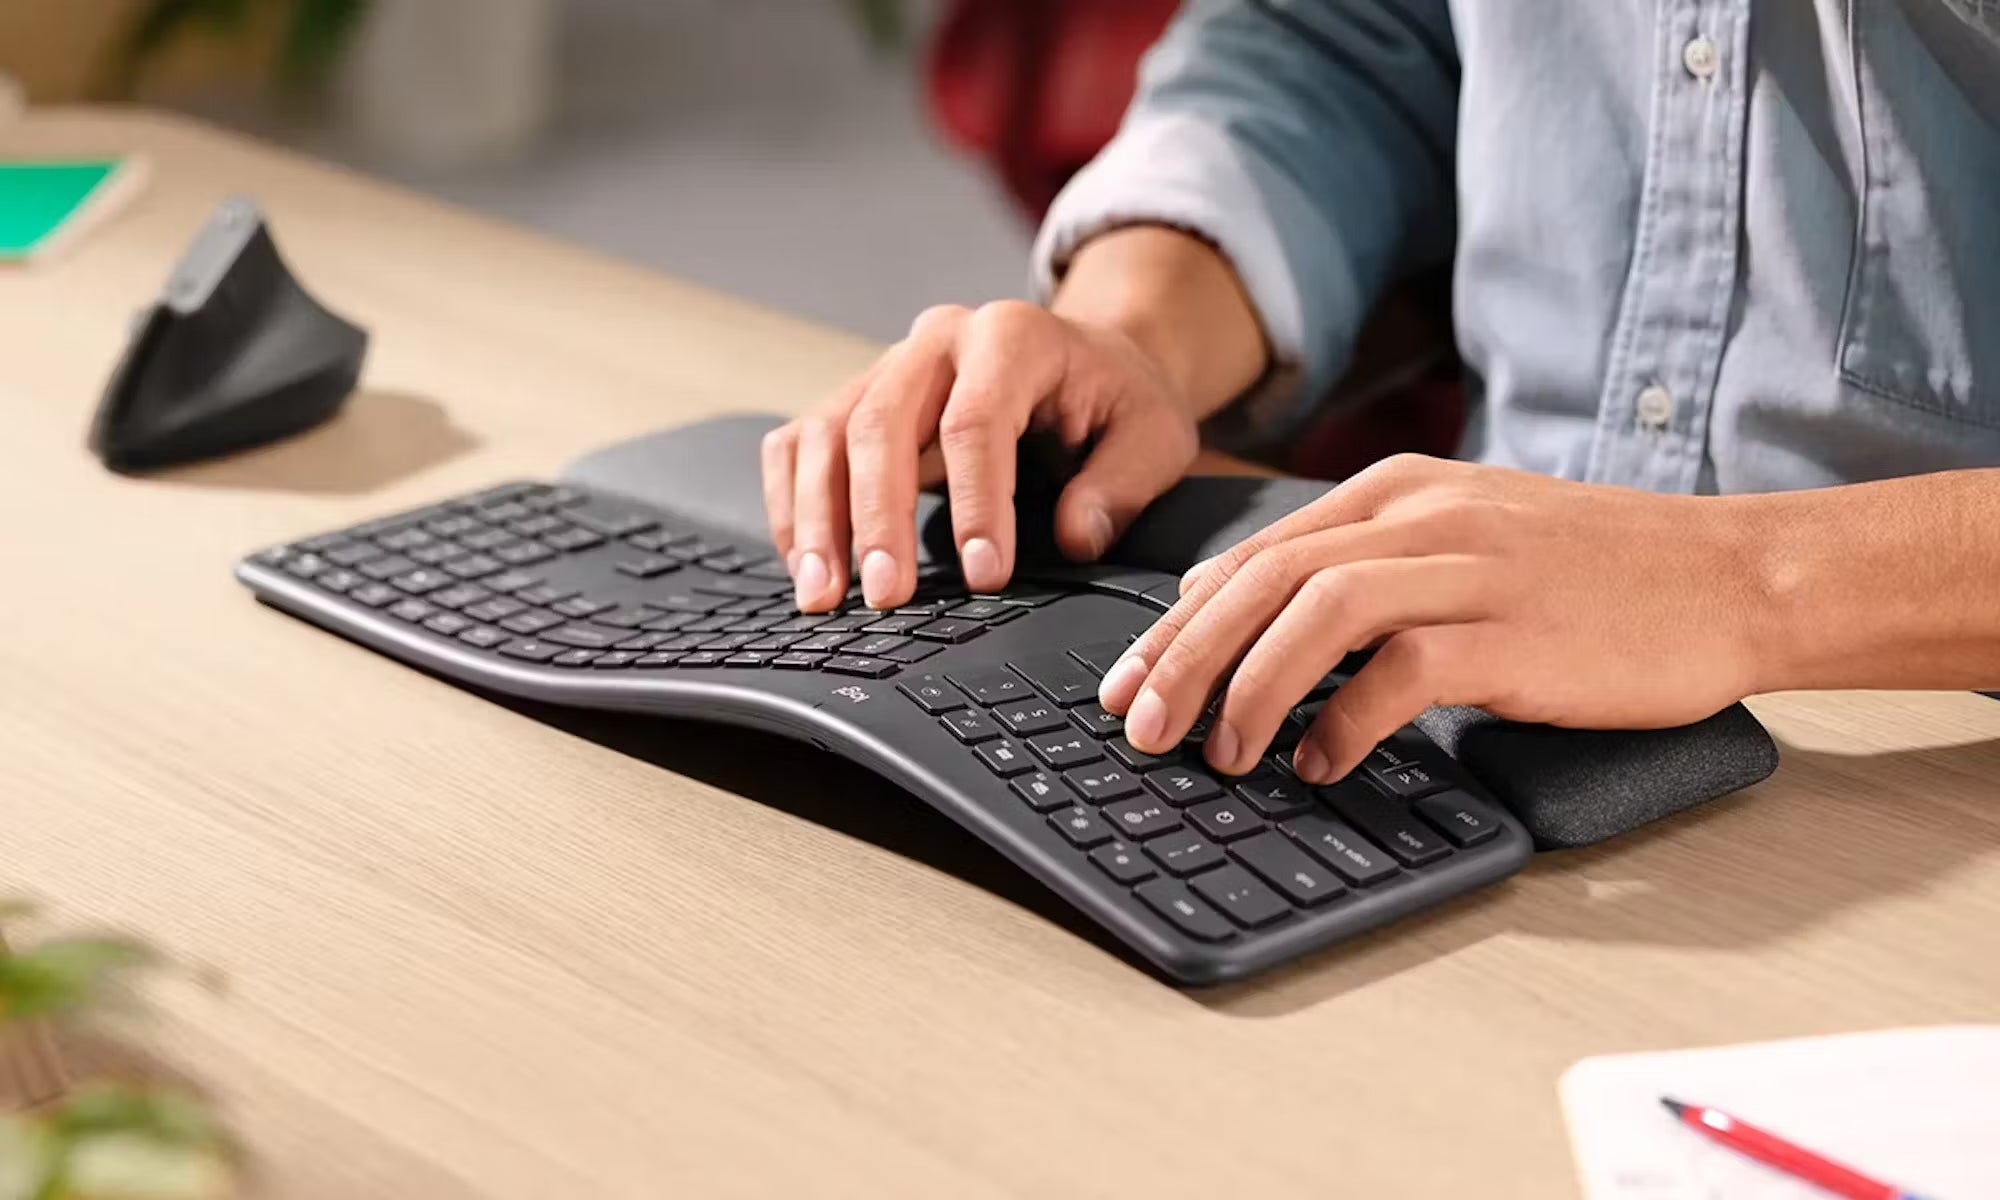
Keyboard Angle: Some keyboards come with legs to tilt them upward, but this can sometimes cause your wrists to bend uncomfortably. A flat keyboard is often better for your wrists, as it keeps them in a neutral position. Alternatively, consider an ergonomic keyboard with a split design if you often experience wrist discomfort.

Mouse Placement: Keep your mouse as close to your keyboard as possible to reduce the distance you have to reach. Place it at the same level as your keyboard, and consider using a mouse pad with a wrist rest to maintain a straight, relaxed wrist position.

With these adjustments, your hands and wrists remain aligned, reducing tension and the risk of injury over time.

3. Keeping a Straight Back and Relaxed Shoulders

When we’re absorbed in our work, it’s easy to slump forward or let our shoulders creep up toward our ears. Unfortunately, these postures lead to upper back and shoulder strain, impacting overall comfort and productivity.

Back Position: Keep your back straight and avoid leaning too far forward or backward. Imagine a line running from the top of your head to your spine. Your lower back should have slight support, which you can achieve by adjusting the chair’s lumbar support or adding a cushion for additional comfort.

Shoulder Relaxation: Your shoulders should remain relaxed and slightly rolled back, not hunched forward. Hunching creates tension across the upper back and neck, which can lead to headaches and shoulder pain. Remember to check your shoulder position periodically and consciously relax them if they begin to tense up.

Cushion Support: If your chair lacks lumbar support, consider using a small pillow or cushion behind your lower back to maintain its natural curve. This helps prevent slouching and reduces lower back strain.

Keeping a straight back and relaxed shoulders allows you to maintain an upright posture that promotes circulation and reduces muscle fatigue.

4. Maintaining Proper Wrist and Hand Alignment

Proper wrist alignment is key to preventing repetitive strain injuries, such as carpal tunnel syndrome. Incorrect wrist positioning can lead to discomfort, especially if you spend long hours typing each day.

Wrist Position: Your wrists should remain in a neutral position, meaning they’re straight and not bent up, down, or to the sides. Try to keep your hands aligned with your forearms without bending at the wrist. This alignment minimizes strain on the tendons and nerves in your wrists.

Avoiding Common Mistakes: Many people develop the habit of resting their wrists on the desk or keyboard while typing, which can cause them to bend. Instead, try to float your wrists slightly above the keyboard, using them only for brief rests.

Wrist Rests: A soft wrist rest can provide support, especially if you need frequent breaks to rest your hands. However, it’s important not to rely on it constantly, as this can sometimes lead to improper wrist alignment.

Proper wrist and hand alignment can make a significant difference in preventing pain and discomfort while typing.

5. Taking Regular Breaks To Stretch and Move

Even with the best posture, sitting for extended periods can lead to stiffness and discomfort. Taking regular breaks not only gives your body a chance to reset but also improves circulation and prevents muscle fatigue.

Break Frequency: Aim to take a short break every 30 to 45 minutes. During these breaks, stand up, stretch, and move around to refresh your body and mind. Set a timer or use an app to remind yourself if necessary.

Stretching Exercises: Incorporate simple stretches, such as reaching your arms overhead, rolling your shoulders, and stretching your neck. Wrist and hand stretches, like gently pulling back on each finger, are also helpful for relieving tension.

Micro-Movements: During your break, try doing some micro-movements, such as shifting your weight or gently twisting your torso. These small movements can help release tension and increase blood flow without interrupting your workflow.

Taking breaks is essential for preventing the build-up of tension and ensuring that your body remains comfortable throughout the day.

What About Improving Typing Posture at a Standing Desk?

Improving typing posture with a standing desk starts with setting up your workstation to support a natural, neutral body alignment. A standing desk can help promote better posture by allowing you to adjust your height so your screen is at eye level and your wrists stay relaxed and parallel to the desk.

Start by positioning your monitor about 20 to 30 inches from your face, with the top of the screen at or just below eye level. This reduces the tendency to slouch or strain your neck.

Equally important is the placement of your keyboard and mouse. Your arms should form a 90-degree angle when your hands are on the keyboard, which keeps your wrists in a neutral position.

Many standing desks include keyboard trays that adjust independently from the desk height, making it easier to find that perfect ergonomic alignment. If your desk doesn’t have a keyboard tray, consider using a wrist rest to keep your wrists supported.

An anti-fatigue mat can also improve your typing posture by encouraging subtle movement, which promotes circulation and reduces strain on your legs and feet. Take regular breaks to stretch and reset your posture, as standing for long periods can also cause fatigue.

Switching between sitting and standing positions throughout the day can help maintain comfort and prevent stiffness, making it easier to type with a relaxed, ergonomic posture. With these simple adjustments, a standing desk can transform your typing posture and reduce long-term strain.

Conclusion

Maintaining proper typing posture can significantly improve your comfort, health, and productivity. By setting the correct desk and chair height, positioning your keyboard and mouse properly, keeping a straight back, aligning your wrists, and taking regular breaks, you can type more comfortably and reduce your risk of strain or injury.

Give these tips a try and feel the difference they make in your daily routine. Good posture is a simple but powerful way to care for your body while typing.

Sources:

Repetitive Strain Injury (RSI): Causes, Symptoms & Treatment | Cleveland Clinic

Musculoskeletal Pain: What It Is, Symptoms, Treatment & Types | Cleveland Clinic

Upper back pain between shoulder blades: Causes and treatment | Medical News Today

Headache Causes | Mayo Clinic

On new furniture, exclusive sales and more.

Thank You!

Let's work together

Get a quote, request a free space plan, check lead times for your area, or just learn more about our products!


1-10 11-50 51-100 100+

Or send us a quick note to sales@branchfurniture.com

Thank you for your interest!

A Branch Expert will get in touch sooner than you can say space plan.

Visiting from ?

Based on your location, we think you may want to shop on the Branch site.

GO TO BRANCH